
Email marketing is an essential tool for businesses to engage with customers, promote products, and build brand loyalty. Odoo provides a powerful yet user-friendly email marketing module that allows you to create and manage email campaigns efficiently. In this guide, we will walk you through the steps to set up and send an email campaign in Odoo.
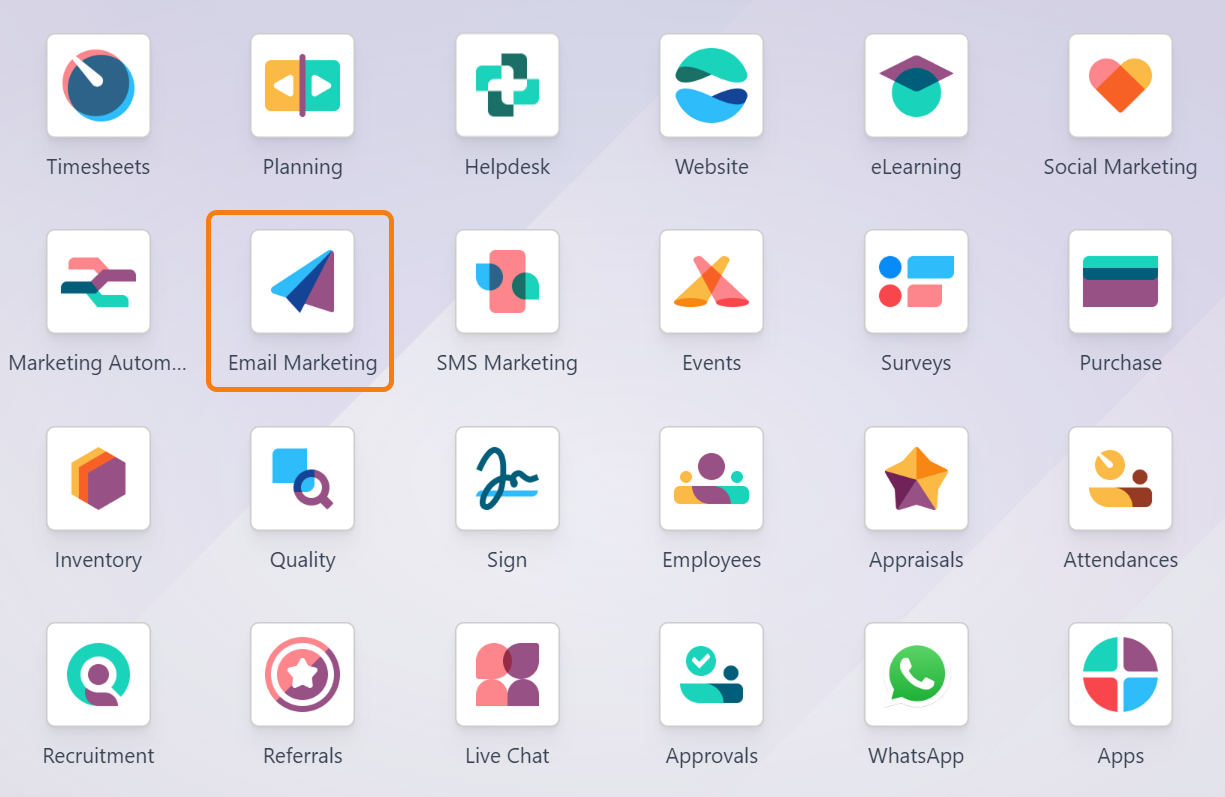
Step 1: Install the email Marketing Module
Before you start, ensure that the Email Marketing module is installed in your Odoo system.
- Go to the Apps module.
- Search for Email Marketing.
- Click Install if it is not already installed.
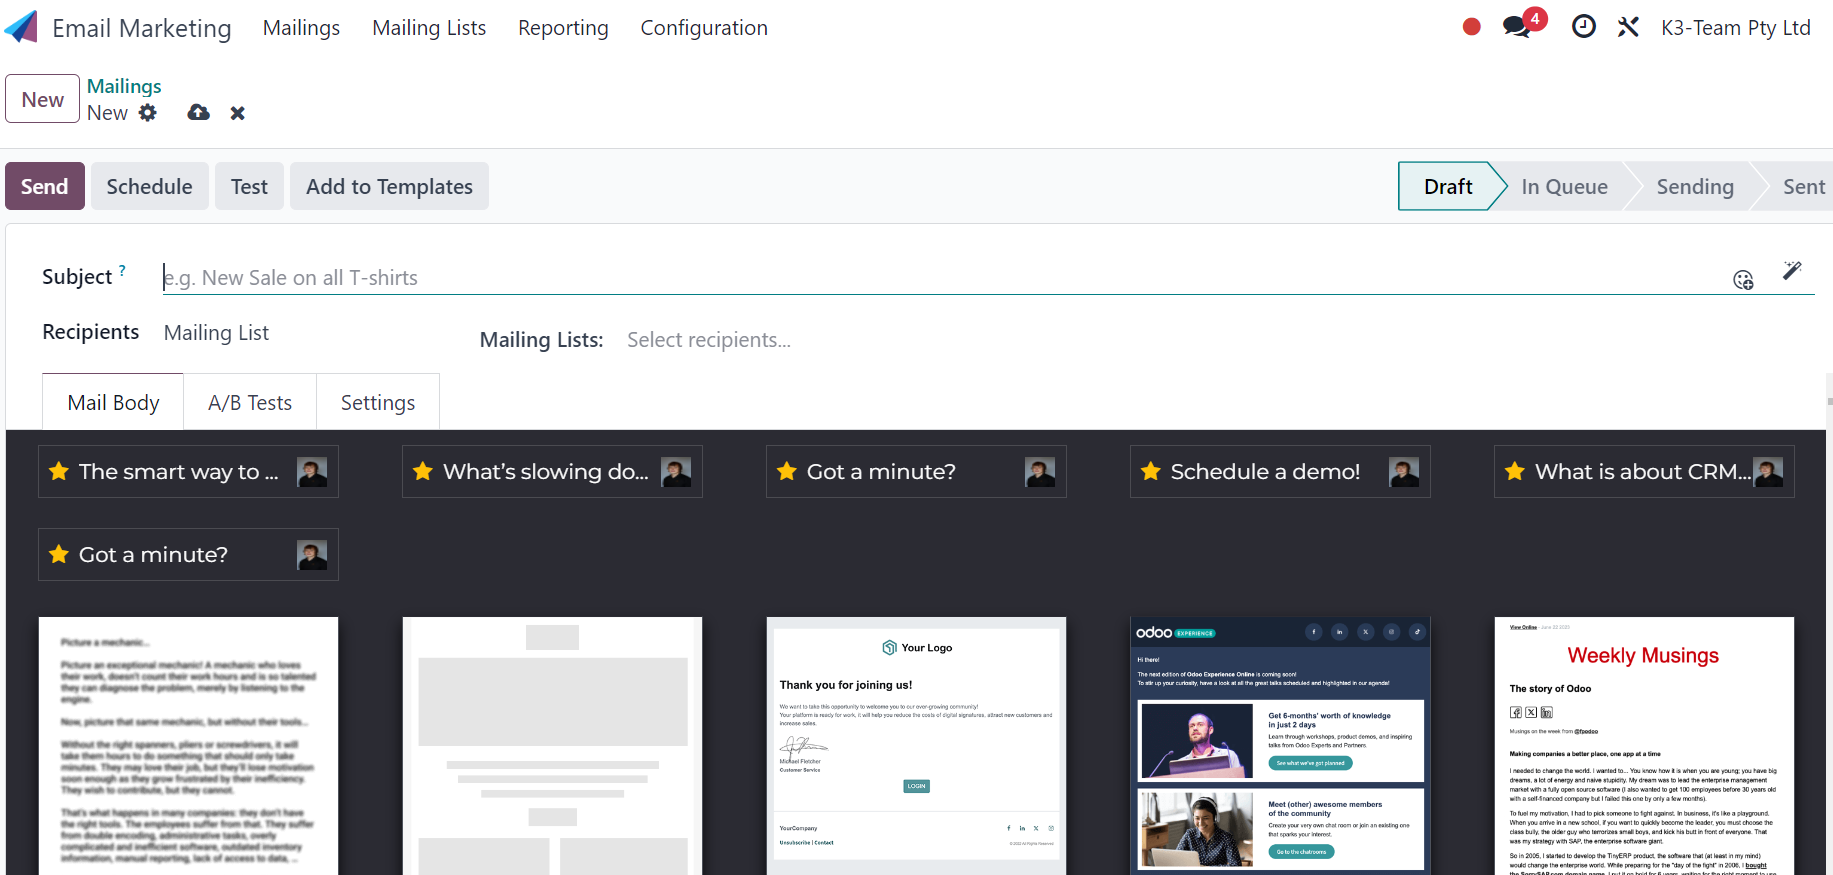
Step 2: Create a new email campaign
- Navigate to the Email Marketing module from the main dashboard.
- Click New to start a new campaign.
- Enter a subject of your email (e.g., "Monthly Newsletter").
- Choose a Mailing List or create a new one by clicking Add a new mailing list.
- (Optional) Assign a responsible user under the Responsible field.
- Select a pre-designed Odoo template or use an email template that you have created previously to save time and maintain consistency in your communication or you can start from scratch.
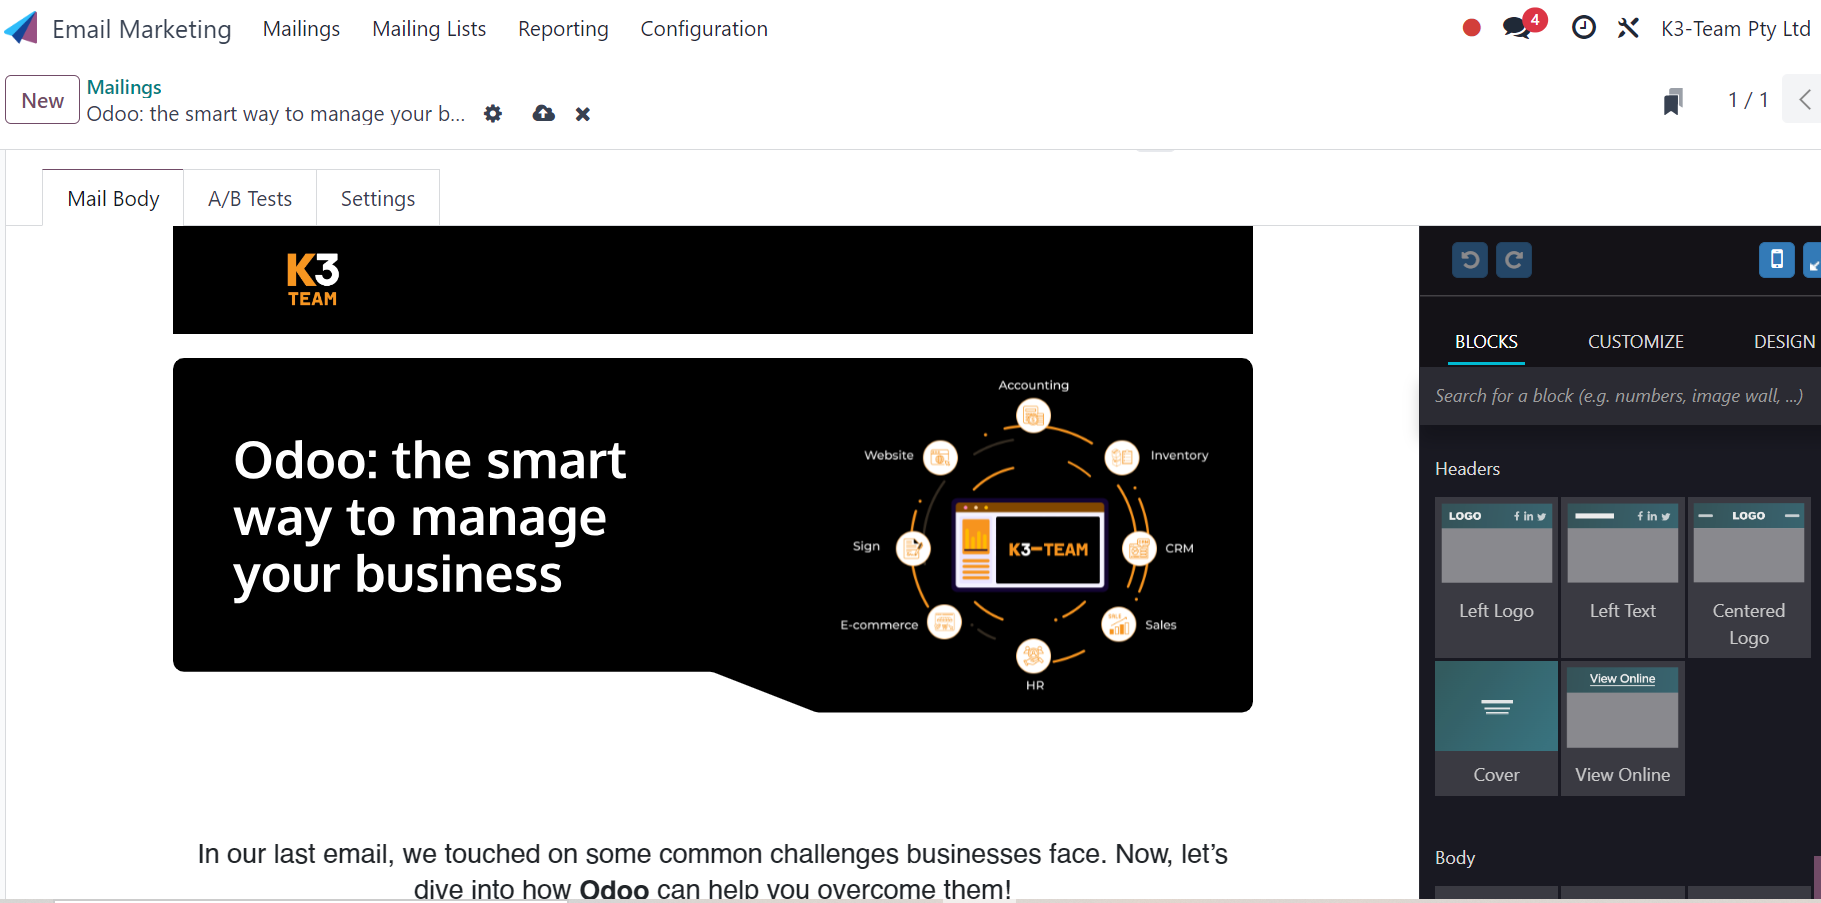
Step 3: Design your email
- Click Edit to customize your email.
- Use the drag-and-drop email editor to add text, images, buttons, and links.
- Personalize the email by using placeholders such as {{ object.name }} to dynamically insert customer names.
- Click Save & Close when you are done designing.
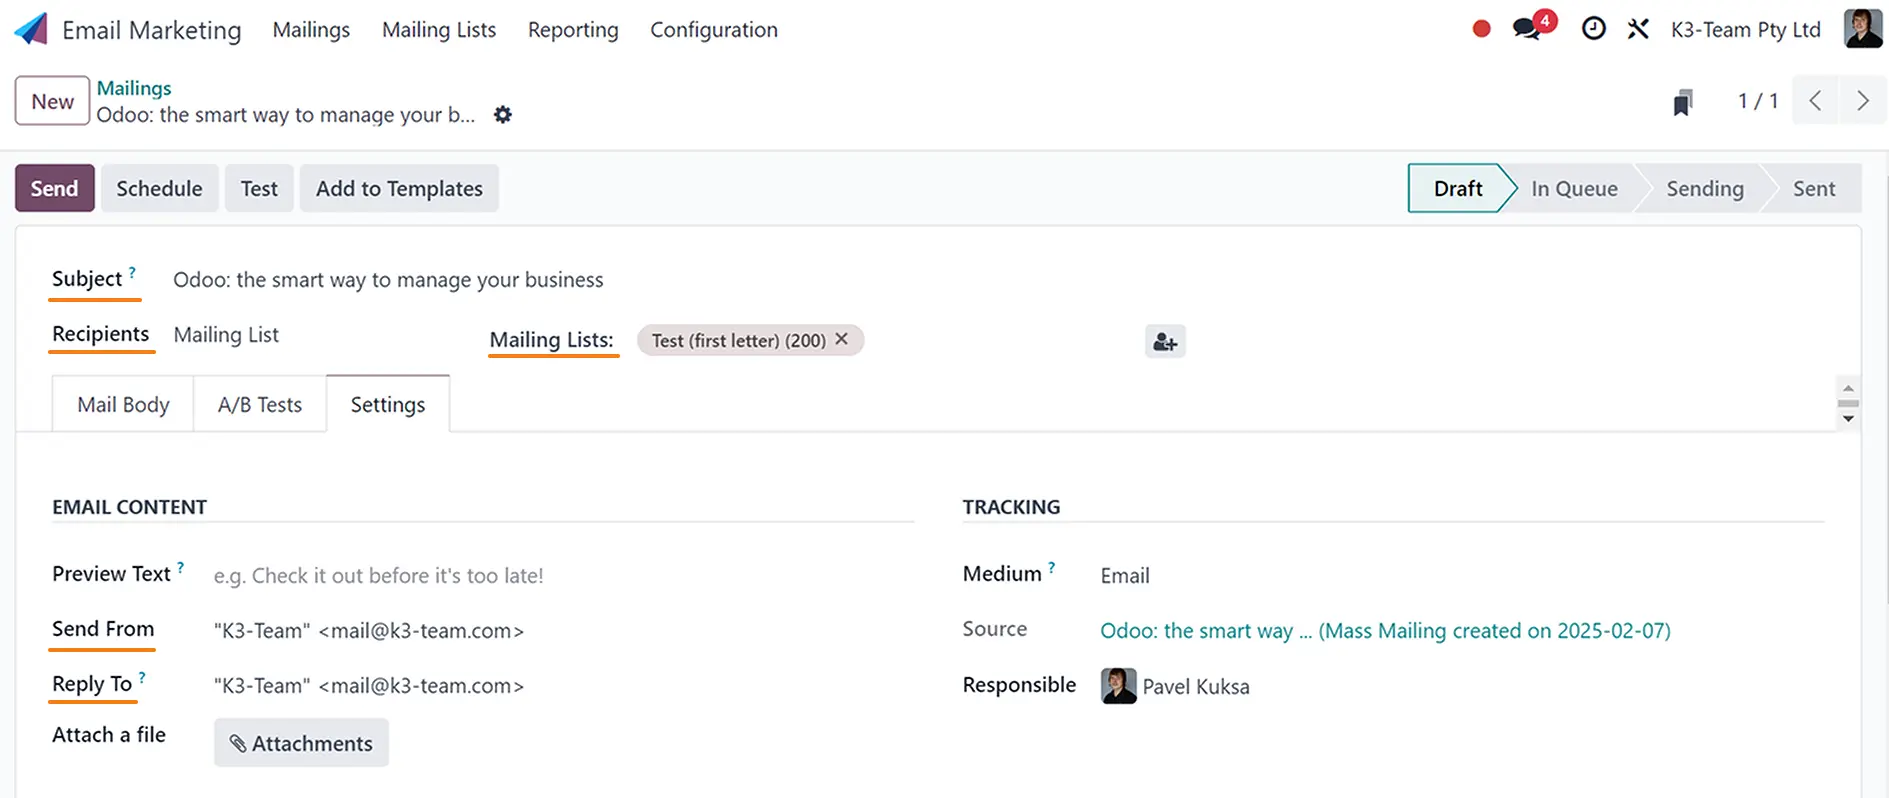
Step 4: Configure the email settings
- In the Recipients section, select the target audience from an existing mailing list.
- Set the Subject line to make it engaging and relevant.
- Under Send From, choose the email address from which the campaign will be sent.
- (Optional) Enable A/B Testing to test different subject lines or email content.
Step 5: Schedule or send the email campaign
- Click Test to send a test email to yourself and review the formatting.
- If everything looks good, choose between:
- Send Now: Immediately send the email to your selected recipients.
- Schedule: Set a specific date and time for the email to be sent.
- Click Confirm to finalize the campaign.
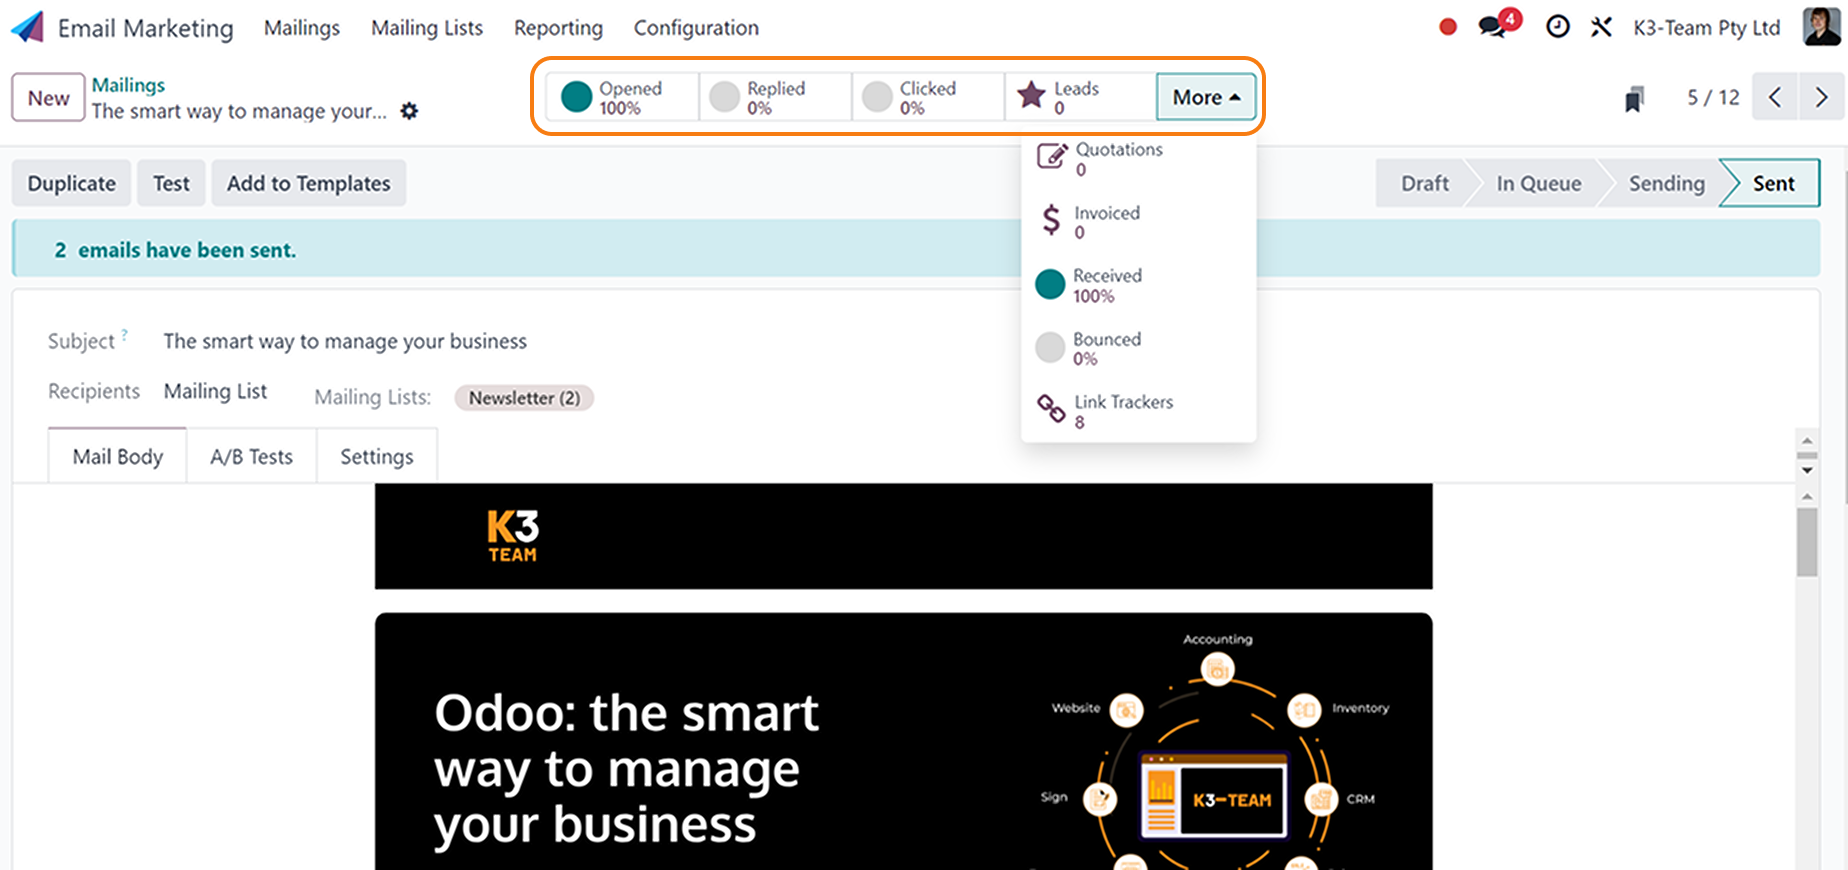
Step 6: Track email performance
Once your email campaign is sent, you can track its performance:
- Go to the Email Marketing module.
- Click on your campaign.
- Review key metrics such as:
- Open rate
- Click-through rate
- Bounce rate
- Unsubscribe rate
Odoo’s Email Marketing module makes it easy to create, send, and analyze email campaigns. By following these steps, you can efficiently engage with your customers and drive business growth. For more advanced features, explore options such as automated email sequences and integrations with CRM and e-commerce modules.
Get in touch with us: